> For the complete documentation index, see [llms.txt](https://docs.p0.dev/llms.txt). Markdown versions of documentation pages are available by appending `.md` to page URLs; this page is available as [Markdown](https://docs.p0.dev/posture/finding-details.md).
# Finding details
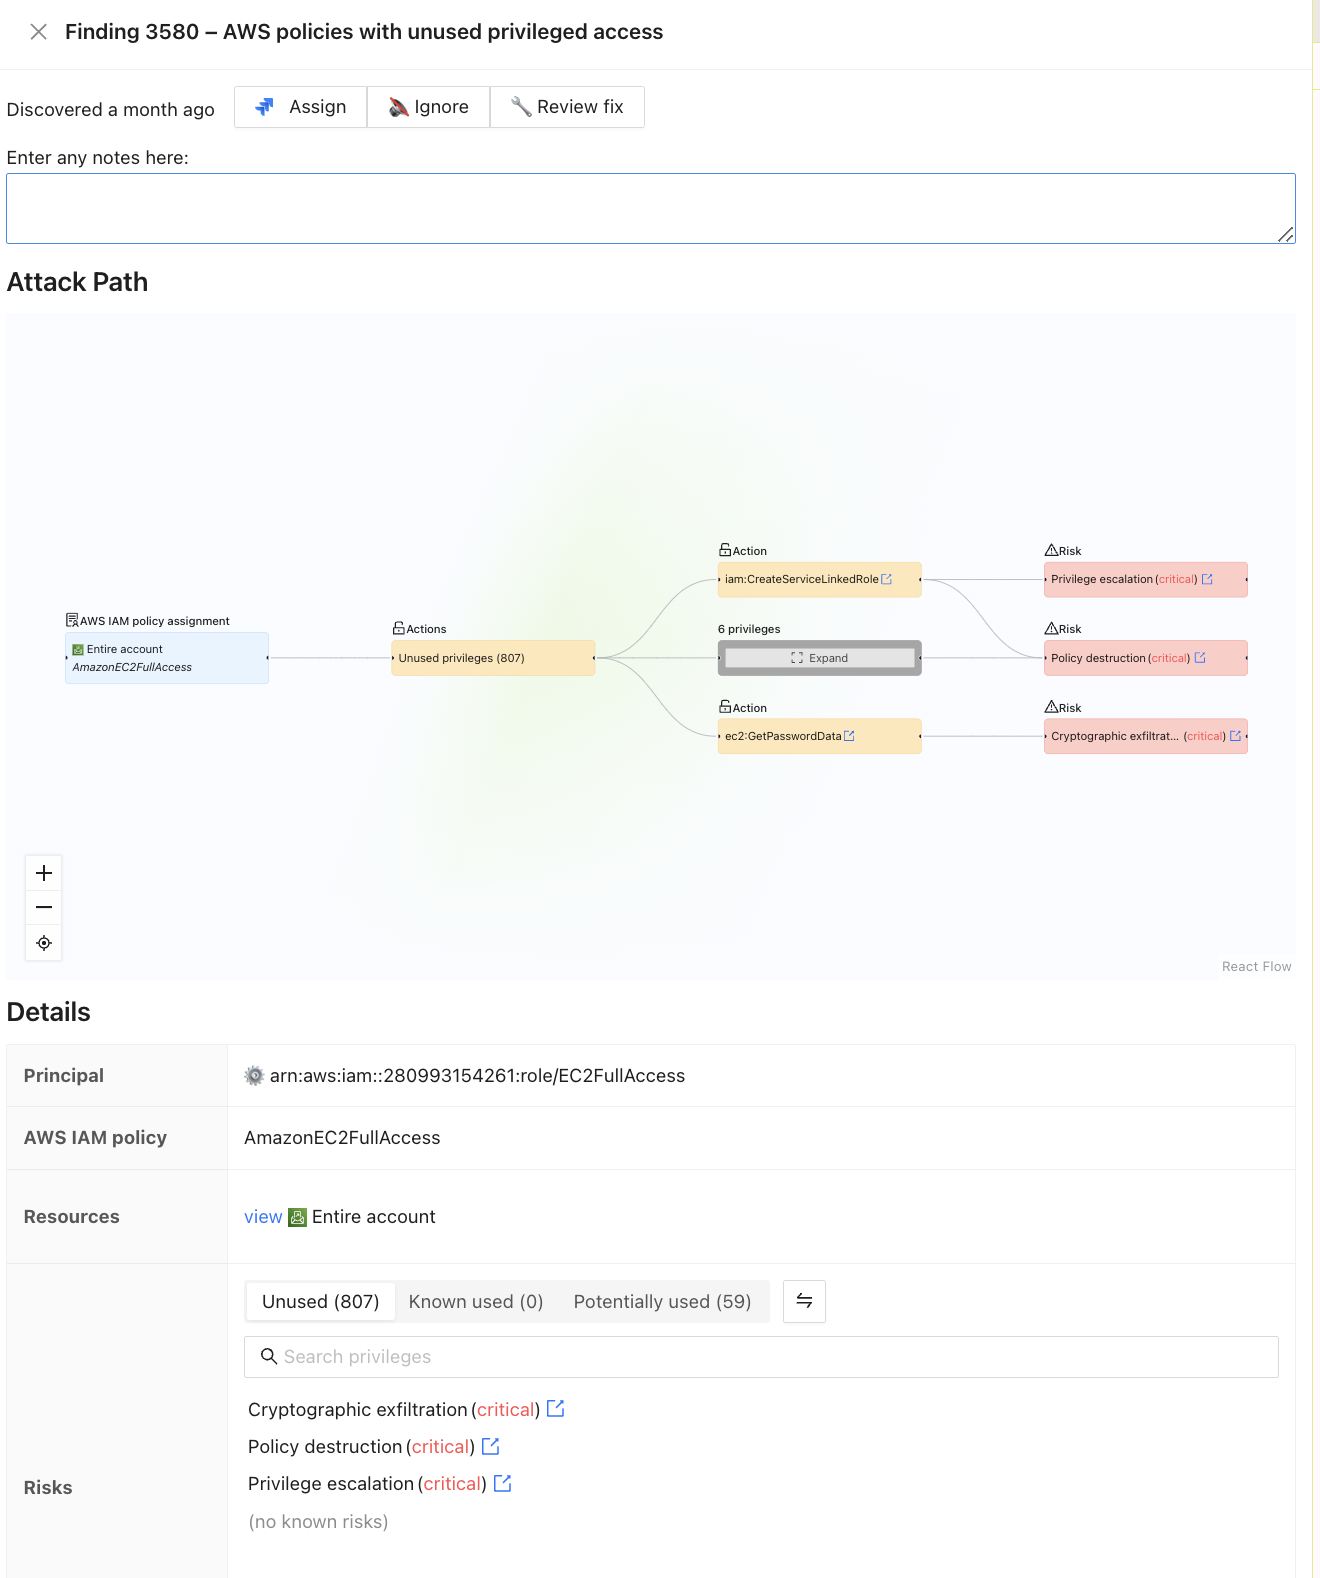
To view extended information for a single finding, click "view" next to a monitor result. This opens that finding's details:
### Actions
#### Assign
If you've integrated P0 with Jira, you can assign findings for resolution. By default, you manually assign the assignee. If you've configured P0 for automatic assignment, the configured resource owner for the target scope in which the finding was discovered determines the assignee.
The created Jira ticket contains the finding description, finding context, and, if available, the resolution commands.
#### Ignore
To ignore a finding, click the "Ignore" button on that finding's details. The finding no longer appears in your results, unless you select "Ignored" in the results views.
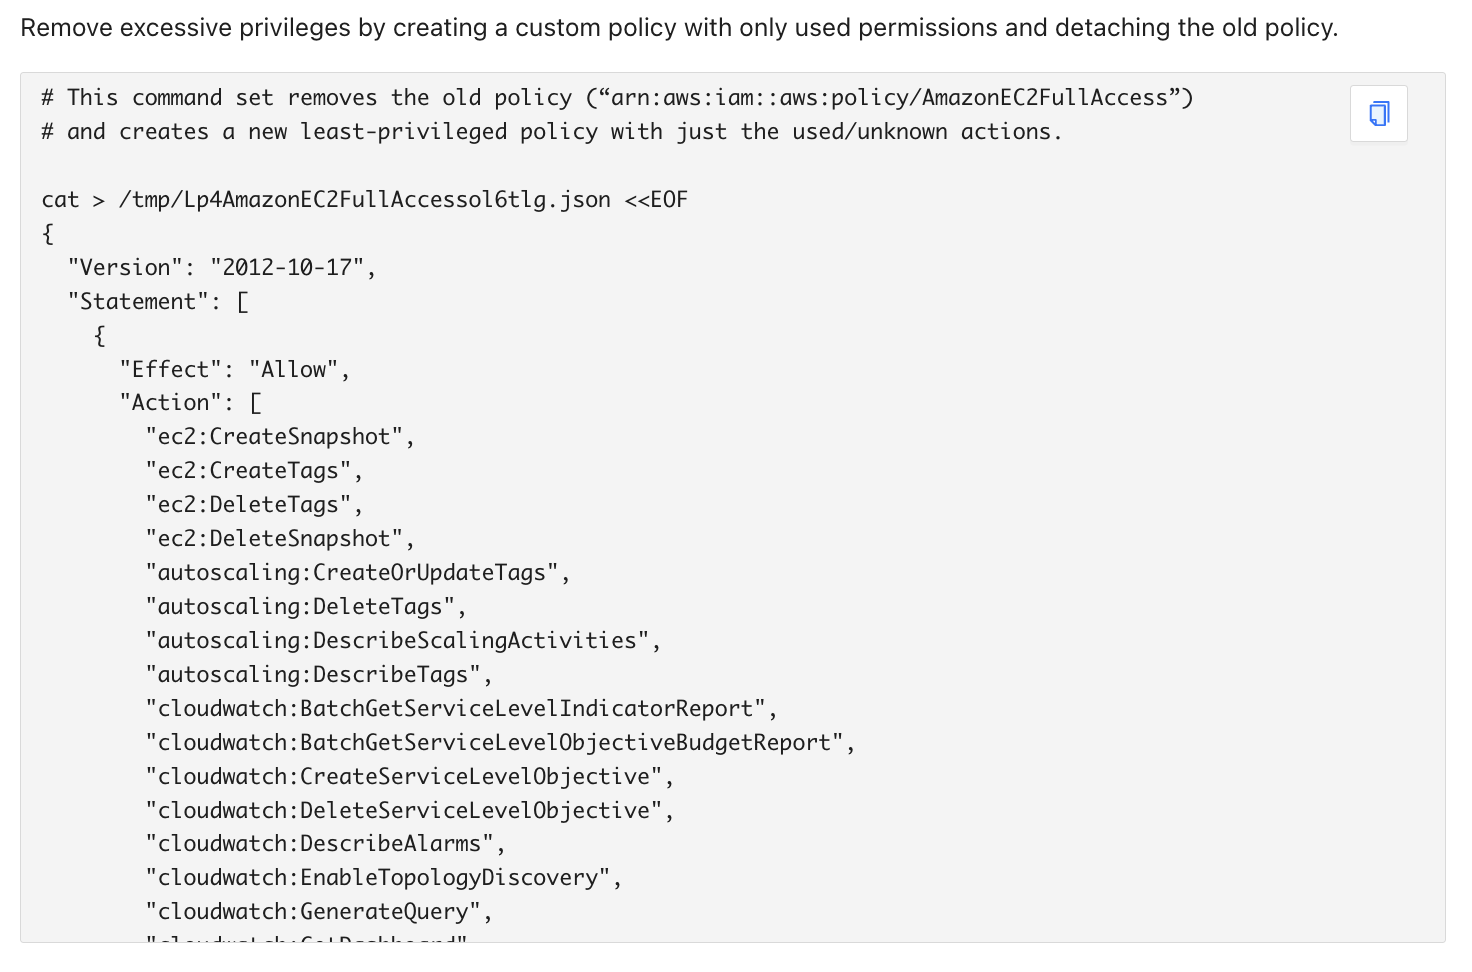
#### Review fix
For P0-provided monitors, P0 provides cloud shell commands that resolve the finding. For example, for the "Unused Privileged Access" finding, P0 provides commands to replace the vulnerable entitlement with a least-privilege entitlement.
#### Add notes
Add notes, including business justifications, to findings by typing on the finding's details page.
### Attack path
P0 displays a graphical representation of the finding's attack path: how an actor holding the identity can gain risky access to your system.
The attack path view has the same capabilities as the [Access inventory](/inventory/access-inventory.md#graph-visualization) in the Access Inventory.
### Detailed information
The remainder of this page shows detailed information for the finding, and explains why this finding matched the monitor's search. For an explanation of this information, see [Result details](/inventory/result-details.md).